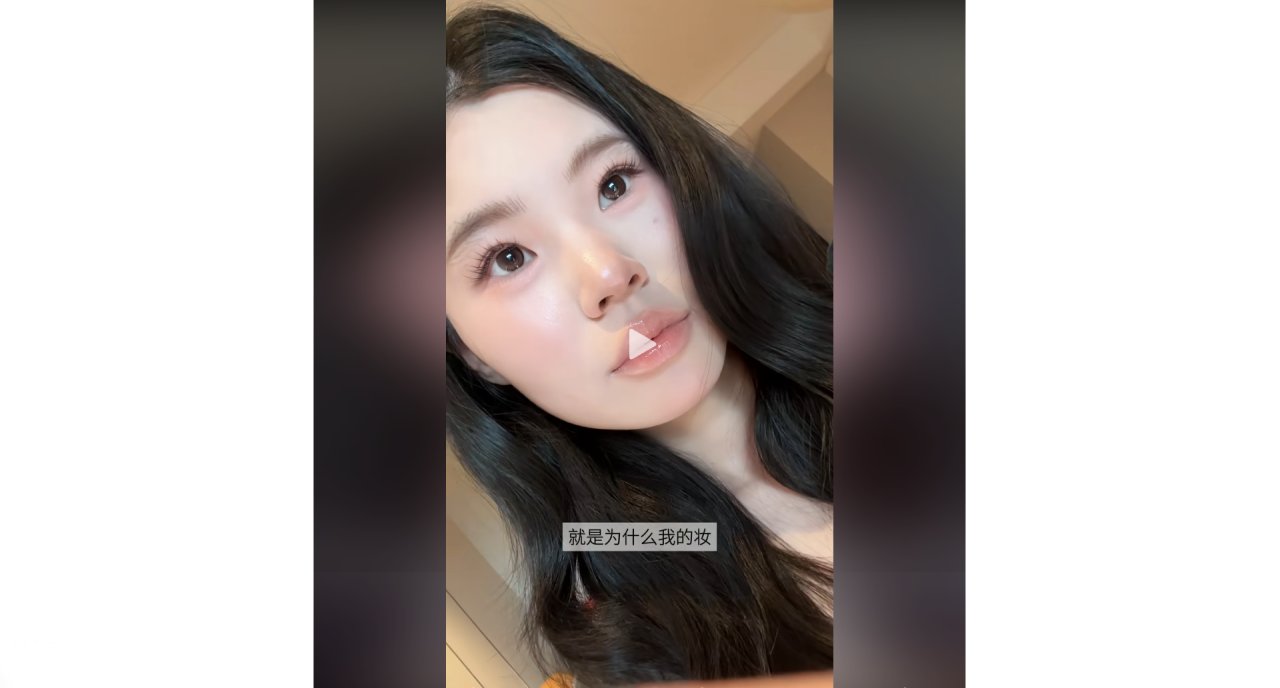
You watch a video where someone applies false eyelashes with such precision that their eyes look open and bright, yet the overall makeup remains barely there. It is not about painting on heavy shadows or thick lines. It is about using low-impact products to highlight specific facial features so they stand up well on camera without looking overdone.
This approach works especially well for people with slightly upward-slanting eyes, smaller eye shapes, or warm yellow and olive skin tones. The goal is simple: keep it light but make sure one detail really pops. When you see this done in real life, it looks effortless. But when you try to replicate the exact angle of the lash application or the subtle shading around the eye, you might find yourself staring at your phone screen, wondering how to capture that same clarity in a photo.
Why the Details Matter
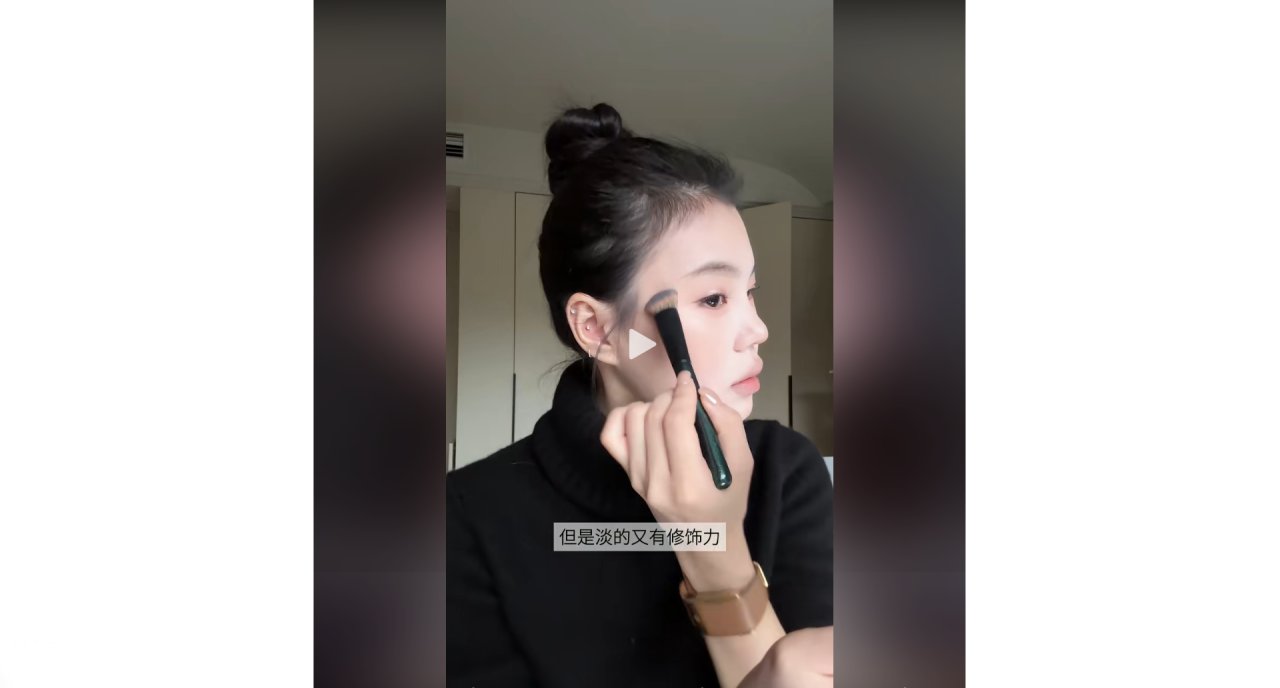
The core idea here is not to change who you are, but to enhance what is already good. In the video shared by creator Quan Zhixian Cai, the focus is on "effective light makeup." This means selecting items that do not feel heavy on the skin. For instance, instead of dramatic lashes, the choice falls on natural-looking strips that lift the eye shape subtly.
Many viewers in the comments section expressed a desire to buy every single item shown. There was a strong pull towards specific lip glosses, like the Joocyee Solid Lip Gloss #561, and questions about which contour stick works best without melting foundation. These are practical concerns. People want to know if the nude lip shade suits dark pigmentation or if the gray knitwear outfit pairs well with the makeup look.
However, seeing these details clearly requires more than just applying them. It requires capturing them. A selfie taken in poor lighting often flattens the dimension created by those precise lash placements. The nuance of the "divine stroke" in light makeup gets lost when the image quality does not match the effort put into the face.
From Mirror to Screen
This is where the transition from physical application to digital presentation happens. You have applied the lashes correctly. You have chosen the right nude tone. Now you need an image that reflects that subtlety. If you take a standard photo, the texture of the skin or the fine hairs of the lashes might blur together.
To solve this, I used deepdraw. It is a mobile tool that handles image-to-image processing without requiring complex setup. I did not need to write long prompts or learn technical terms. I simply picked a template designed for portrait enhancement. Then, I uploaded my photo—the one where I had just finished the light makeup routine.
Within three seconds, the tool returned an image. The difference was visible immediately. The AI sharpened the area around the eyes, making the individual strands of the false lashes distinct against the skin. It balanced the lighting so that the contour product did not look muddy. The result was not a completely new person; it was a clearer version of the moment captured in the mirror.
What You See Changes
Let us look at the specific adjustments made during this process. The original photo had soft lighting, which is nice for mood but bad for showing detail. The generated image brought out the structure of the eyelids.
| What you do | What you see |
|---|---|
| Upload a selfie after applying natural lashes | Eye area becomes sharper, lash roots defined |
| Select a style-swap template for portraits | Skin texture retains realism, no plastic look |
| Wait three seconds for processing | Lighting balances, highlighting cheekbones subtly |
The key takeaway here is that the tool respects the original intent. It does not add fake drama. It reveals the work you already did. For those asking about colored contacts or eyebrow pencils in the comments, this method helps visualize how those small additions impact the whole face when viewed through a lens rather than a mirror.
Common Questions Answered
Does this require drawing skills? No. The template library handles the composition. You only provide the source photo. The logic behind the enhancement is built into the preset styles.
Can I use this for professional portfolios? The images are enhanced versions of your own photos. They maintain your likeness while improving visual clarity. Always check platform guidelines regarding AI-assisted editing if you plan to use them commercially.
Why did my previous attempts look flat? Light makeup relies on subtle contrast. Standard cameras often compress these differences. Image-to-image tools can expand that dynamic range, making the "light" makeup appear intentional rather than accidental.
Finding Your Own Angle
Not everyone has the same eye shape or skin tone. The video mentioned that this technique suits upward-slanting eyes particularly well because the lifted lashes complement the natural tilt. If you have rounder eyes, the placement might need adjustment before you even take the photo.
The barrier to entry for understanding this balance is usually time. Watching tutorials takes minutes; practicing them takes hours. Using a tool to preview how different lighting conditions affect your makeup saves that trial-and-error phase. You can upload a test shot and see if the "nude lip" looks too pale or if the "contour" looks too harsh under simulated studio light.
It is not about replacing the artist’s touch. It is about giving that touch a fair chance to be seen. When the camera captures the nuance you worked hard to create, the final image feels honest. It reflects the effort of the application, not just the luck of the lighting.
Next time you apply a subtle line of eyeliner or place a single strip of lashes, consider taking a photo. Then, see if a quick enhancement reveals the detail you intended. Does the image show the quiet confidence of light makeup, or does it still hide the work? That answer might tell you whether your next step should be adjusting the product or adjusting the lens.